
I had to remove over an inch of fabric on all sides of the backing where it had worn through and fortunately "C" had saved all the left over bits so I had enough to add a strip to the back and to make new double fold binding. The quilt is square and flat but the fabrics are so thin and soft that it doesn't hang well, looks fine on the bed though.
 I used a pale lavender thread and quilted large feathery freehand all over so with the new QD batting and the double binding it is now as strong as it can be.
Those of you who know me also know by now that I rarely hand bind anymore, only show quilts really, all utility quilts I bind by machine.
A Blogland friend had some questions about my machine binding method so I thought while binding this quilt I could make a tut.
 I most often cut bindings 2.25" wide, then fold in half lengthwise and press making a 1.125" double fold binding. I may cut the strips either across the width of the fabric or lengthwise depending on the amount of fabric available. Some purists insist there is less stretch lengthwise, and rightly so though I have not noticed much if any difference in applying bindings. I always join the strips on the bias, same as for borders and I make sure I have an extra foot or two of binding to work with.
This method works best using a walking foot to handle the bulk of four layers of fabric plus batting. I use thread to match front and in the bobbin for the backing to match as closely as possible and I prefer to use a very fine thread such as 50wt or 60wt. Superior Bottom Line or So Fine work well for this purpose as they sink into the fabric and are less obvious. FYI, with thread, the higher the count the finer the thread!
I attach the binding first to the front, then turn it to the back and complete the process because I like the look of the finish better, but I have also done it the other way. You can try it both ways and see which you prefer, it may be more appropriate to do it one way for one quilt and the other way for a different quilt.
 Here you can see I am attaching it first to the front.
Begin binding application a foot or more from the corner and leave about an 8" tail of binding free to enable a neat 45 degree join at the end.
Sew a 1/4" from the edge to get a nice tight, full binding. Stop the stitching 1/4" of an inch from the corner.

To make the miter fold the binding back at a 45 degree angle

then fold it back on itself and place a pin 1/4" from the corner. You should just barely be able to see the raw edges of the quilt above the folded edge of the binding. Put the needle down right by the pin and continue stitching around the other sides.
Stop when you get within about a foot, no less, from where you started.
Joining the two ends can be quite intimidating but once you do it a couple of times you will wonder that it ever bothered you!

Bring the two free tails of binding together snugly and place a pin where they meet about in the middle of the un-sewn area. Mark these points with a pencil where they are pinned at the raw edges.

Then with the quilt laying out in front of you place the furthest [upper] free end of binding right side up and the nearest [lower] end right side down on it at right angles so that the tails cross over each other matching up the pencil marks you made. Draw a line diagonally top to bottom left to right as above and stitch along the line.
This step was the most confusing for me and it took a few tries to work out my own no-fail method so don't give up. Email me if you have further questions and I'll do my best to 'splain, maybe make a little video for this step.
 Check to see that you have done it accurately then trim off the tails........
 and you have a clean neat join. Continue sewing to finish stitching the binding to the front of the quilt.
 Turn the binding to the other side and pin. I make sure my pins are right on the seam line just slightly below it. You can pin vertically or horizontally, I do either/both depending on my mood! I pin a foot or so ahead sometimes more and continually check the back to make sure I am still in the groove!
 Here's is how it would look on the other side the pins lying right alongside the seam so you can barely see them.
I use an SID foot[Stitch In The Ditch] for the final stitching of the binding. I know most machine brands have one of these if you ask at your machine store or go online to look for your brand. Before I found out about the SID foot [at a class for piped binding] I used my all purpose foot and it works fine but the SID foot makes it really easy to sew accurately along the very edge of the binding. It has a little "lip" to guide right along the edge of the fold. I move my needle position over three clicks to the right so that my stitching catches the edge of the fold.

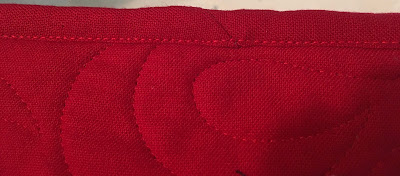
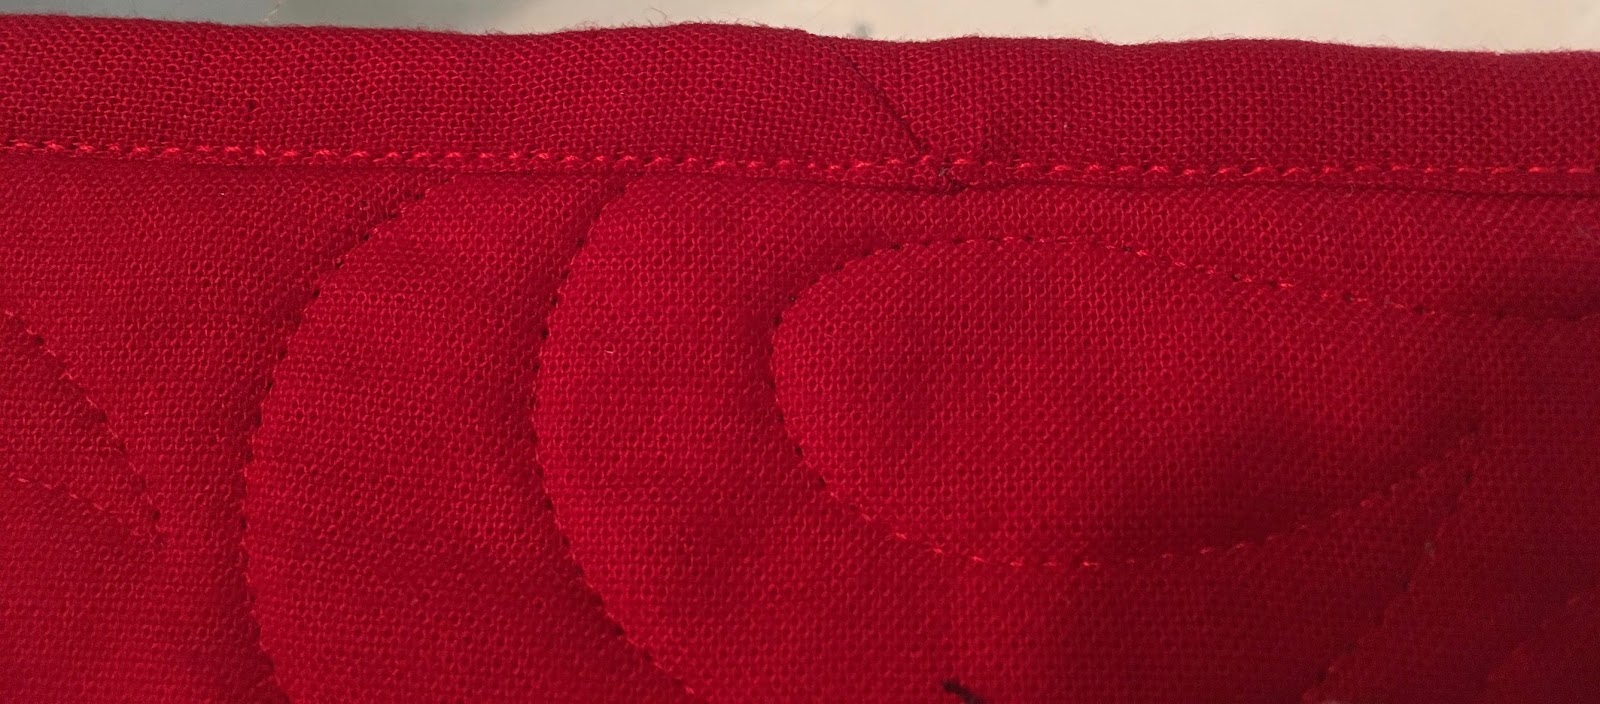
 So here's how it looks from the front, I think it's quite acceptable and very durable
 Here you see the mitered corners, well- filled binding [something judges get quite picky about] and how the stitching is barely noticeable from the front and isn't at all distracting.
Although I think this is very suitable for most quilts I may not machine finish a quilt that I
intended to enter in a show.
It is now eight years later and after referring many people to this tut, I decided to add a postscript/update and to see if I could repost a little video that disappeared from the blog some time ago! And miraculously it loaded, so I am hoping it will stay!
Showing how easy it is to SID, "stitch in the ditch"for a neat and durable finish to the binding.
I took a few pics of a recent baby quilt binding I will add here, the colors are more vibrant and may show better. I also took another video but I think it's too big a file for Blogger, it would not load.


This is the foot I find most helpful for binding
I took a few pics of a recent baby quilt binding I will add here, the colors are more vibrant and may show better. I also took another video but I think it's too big a file for Blogger, it would not load.
Here is how to turn the corner for a mitered finish.

Here you see it stitched down

Marking the "tails" of binding for a snug fit.

Laid out in the correct formation

Diagonal sewing line drawn and pinned in place.

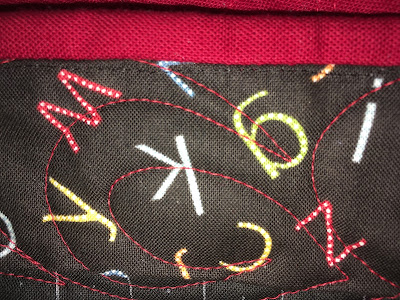
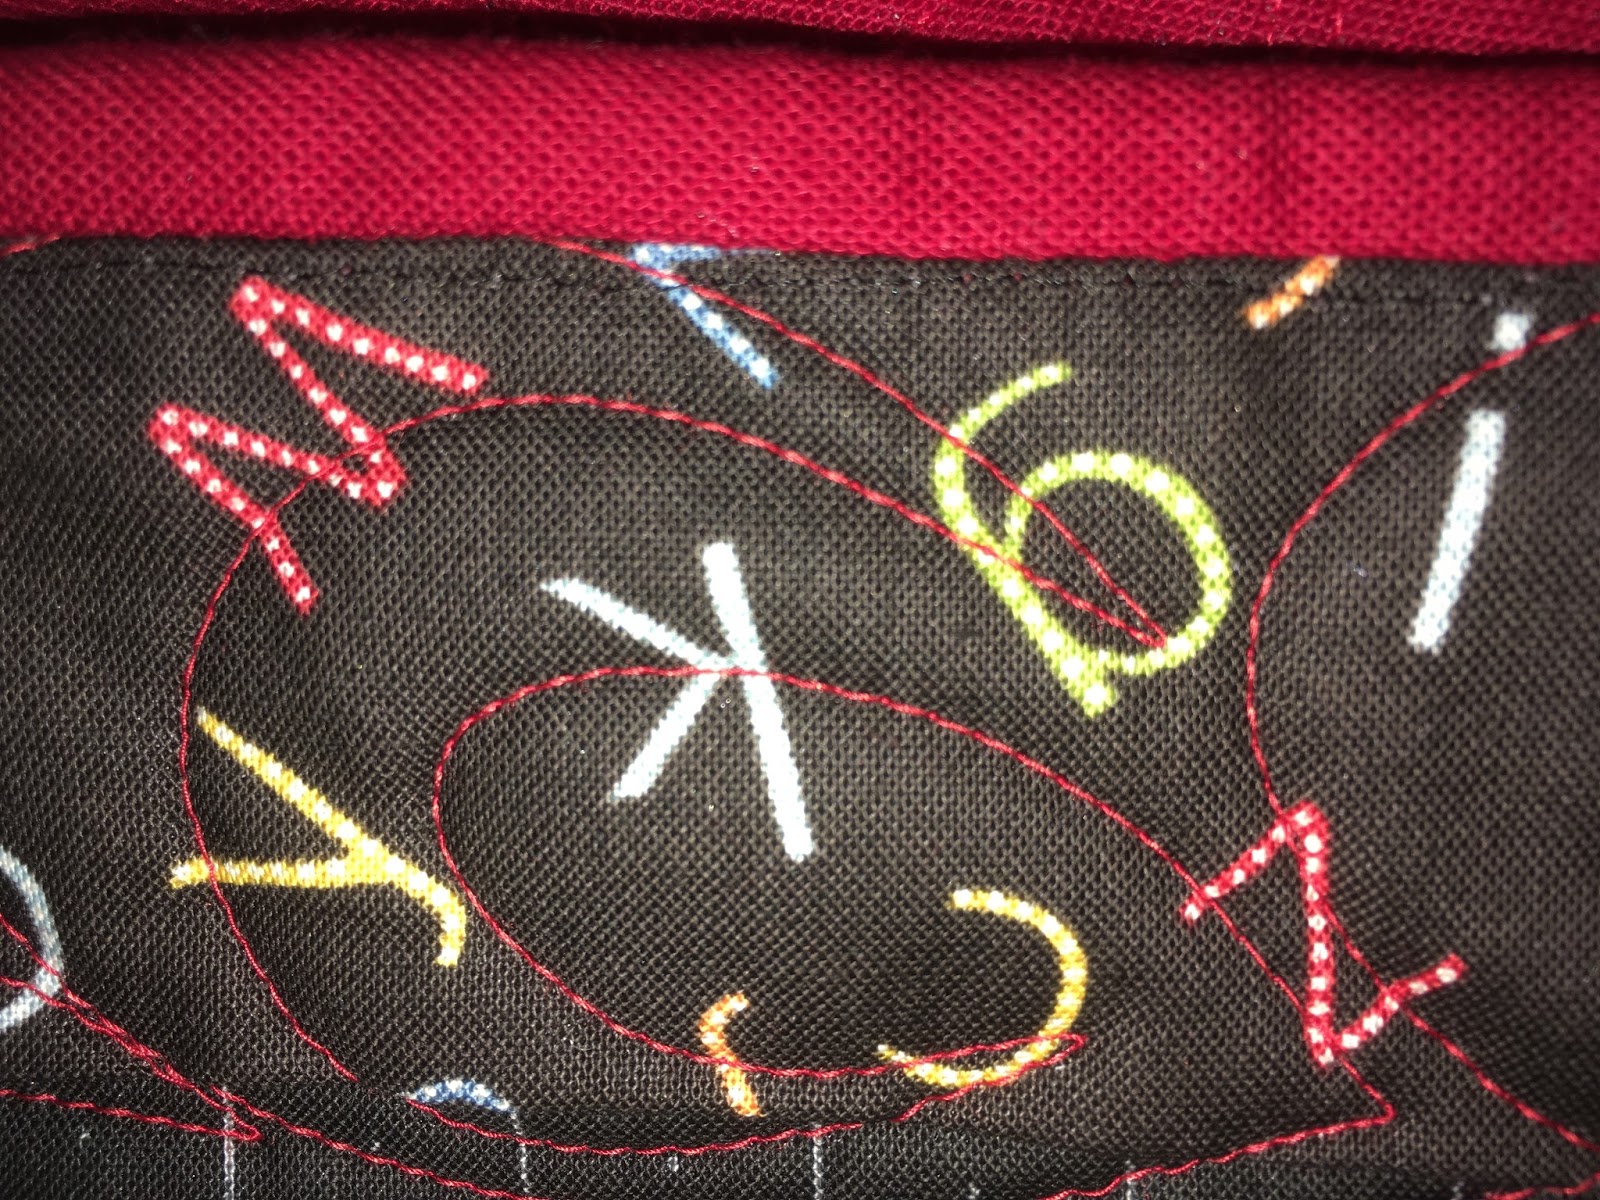
A very neat finish on the back of the quilt
and with matching thread the stitching on the binding is barely seen on the front of the quilt.
I use Bottom Line from Superior when I need to minimize stitching, 60 weight polyester thread.


This is the foot I find most helpful for binding
10 comments:
How wonderful that you were able to save dgd'd treasure!
Kathy
What a great rescue story and wonderful tute! I always do my bindings by hand but this looks like a much quicker finish especially for baby and charity quilts that get a lot of wear and tear.
Thanks for joining in on Finished for Friday!
Great tutorial. But I just have one question. Are you using the stitch in a ditch foot on the front side or back side of the quilt to finish the binding? I'm assuming it's the front. I would love to perfect machine finished binding for my charity quilts.
If I ever learn to quilt I'm going to come and take lessons from you. I actually understood what you were doing here and you are a great teacher.This was a wonderful tutorial..., and, as you know, I have quilt making ineptitude. I could learn to do this....
What a great tutorial...I don't think my machine had a stitch in the ditch foot, I may have to check into that...you certainly make this look easy....I'm going to try this and see how it goes! Thanks again!
Very nice tutorial. I am going to give machine binding a shot next quilt. Thank you. Pat L in NY
great tutorial- I will have to book mark it. I tend to pull the back to the front and sew down. Sometimes I will hand stitch but mostly I just straight or decorative stitch.
Thanks for taking the time to share your way. be good cheryl
I use this method on every quilt I make. I figure if it's machine pieced, machine quilted, it can sure have the binding put on by machine too!
Great pictures.
Great tutorial!
I do that too... faster and so much more secure that my hand sewing! More time for making quilts. Sometimes I sew the binding to the back first and then sew the front side down with a decorative stitch... looks nice and it's very secure. It just takes a little longer.
Post a Comment