Regalia


of her great grandmothers.
When I saw this pattern for a large, 20” pillow the idea of making it in blue and orange got me thinking how it would look on one of my blue leather love seats- you may have realized by now that my favorite color is-blue!


Blue and orange are opposite on the color wheel so that makes them great contrast and I love orange for the”pop” of color that is eye candy. The pattern is easy and the challenge is how to deal with the intersection of all the seams at the very center. You just have to pound them flat, LOL. I have yet to purchase the 20” pillow form so maybe this will remind me to order one.

“Olivia The Pig Exercises”is a quilt I made a few years ago from a bundle of fabrics I couldn’t resist- I love the name Olivia and never had a chance to name a girl child when I needed all boy’s names. I had not found a recipient until this sweet young lady at church was Baptized. I offered her a choice of the appropriate quilts I had on hand and Kiva chose “Olivia”.
Another Baptism quilt below, this was an “Improv quilting” experiment with my friend Leslie in TX. I was not pleased with the process and have no plans to ever repeat it -but I seem to remember that Leslie quite enjoyed it but I think she used a black background!


Obviously I have way too many quilts on my bucket list🥴

A bright happy quilt on the modern side of the design choices quilted with E-E clam shells.
Many of my quilts are made from stash, I mostly only purchase when there is nothing in stash that will do. A BOM called “Home” that needed freehand custom quilting but it’s a utility quilt rather too large for a wall hanging and I needed to keep the quilting from becoming too tight or it would not drape nicely and feel cozy!
 These are always fun to quilt, making up the quilting design as I go along to compliment the piecing.


My dear friend Linda in CO. Made the next two quilts and like me is a lover of blue so her quilts are always a joy for many reasons beginning with the color.


The next, also predominantly blue and white, is called”Be My Neighbor”
Linda and a dear longterm friend and neighbors each made one.

They are personalized, the two houses on the bottom row have the house numbers these friends shared for many years, to left is the school house at which both taught and to the right a chapel because you”always have to have a church”🥰 I used the Baptist Fan design to blend the different images and avoid distracting from the important elements.
The QOV below is such an eye catcher I decided to quilt E-E with Baptist fan and was very happy with the result that enhances the dominant red, white and blue stripes reminiscent of our beautiful Stars and Stripes USA Flag. It will become a presentation to a pilot at the Vietnam Helicopter Pilots Reunion next year. It is my pleasure to quilt a few of these each year, and so rewarding to see these men who are so humble about this tribute for their service to our Nation from a time when they were reviled and assaulted on their return to their homeland. It’s the least I can do. God bless them all and our great USA.

My quilted version of Stars and Stripes

Major Walter W. Atwood Jr.
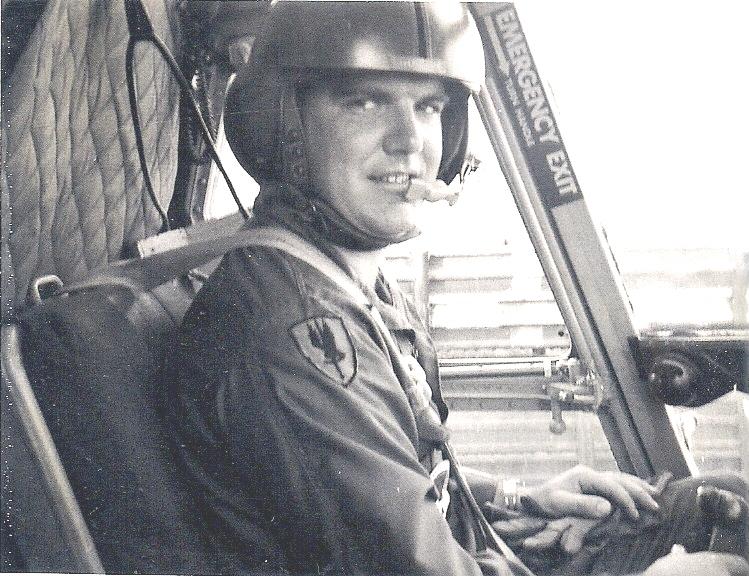
My Hero❤️


